Flexographic printing, also known as flexo, is a versatile and widely used technique for creating high-quality printed materials. Particularly popular in the packaging and label sector due to its efficiency and ability to produce vibrant, detailed prints, flexographic printing delivers consistent and reliable results and is the go-to printing method for many companies in a variety of industries.

In this article, we’ll explore the key element of the flexo printing process.
How does flexographic printing work?
In flexographic printing there are six main stages:

1. Preparing the printing plates
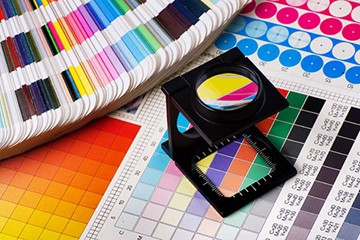
The basis for effective flexo printing is the printing plates, which are usually manufactured from soft and resilient rubber or flexible photopolymer. During the process of flexo printing, images are separated into a minimum of four process colours - cyan, magenta, yellow, and black - with the option to include spot colours and over varnishes if needed. The plates are essential for the effective transfer of the desired image or text onto the substrate.
2. Plate mounting
Once the plates are prepared, they are mounted onto the printing press cylinders, with each colour in the design requiring a separate plate. The mounting process must be meticulously completed to ensure that the colours are precisely aligned, as this will produce accurate and vibrant prints.

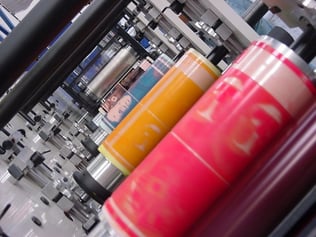
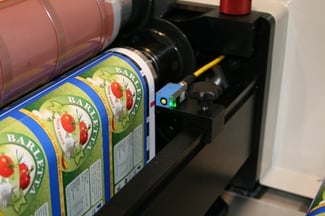
3. Ink application
The ink is supplied to the printing press through ink chambers or rubber rollers. To control the ink application, anilox rollers are used which have a pattern of tiny cells that carry and deliver a precise amount of ink to the plate surface. By carefully controlling the application of ink, consistent and sharp prints can be achieved.
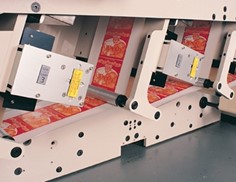
4. Substrate feeding
Next, the substrate, which is usually in the form of rolls of paper or plastic film, is fed into the printing press, passing through various rollers and tension controls to ensure smooth and consistent movement through the press. Controlled feeding is vital to prevent misalignment and ensure the exceptional quality of the final print.
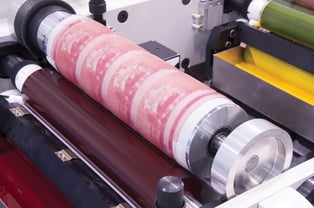
5.Printing and image transfer
As the substrate moves through the press, the inked plates transfer the desired image or text onto it. The pressure applied between the plate and the substrate enables the ink to transfer effectively, creating the final print. This is a highly precise process which makes flexo printing ideal for detailed and high-quality work on a variety of different substrates.
6. Drying or curing
Finally, after the ink is transferred to the substrate, it must undergo a drying or curing process to become permanent. Depending on the specific application, drying can be achieved through air drying or by utilising drying systems such as hot air, infrared, ultraviolet (UV), or LED UV technologies. The choice of drying method depends on the type of ink used and the requirements of the final product.
Find out more about flexographic printing
For more information on how flexographic printing works and the benefits for your business, please download our free Guide to Flexo Printing or call Focus Label on 0115 824 5426.